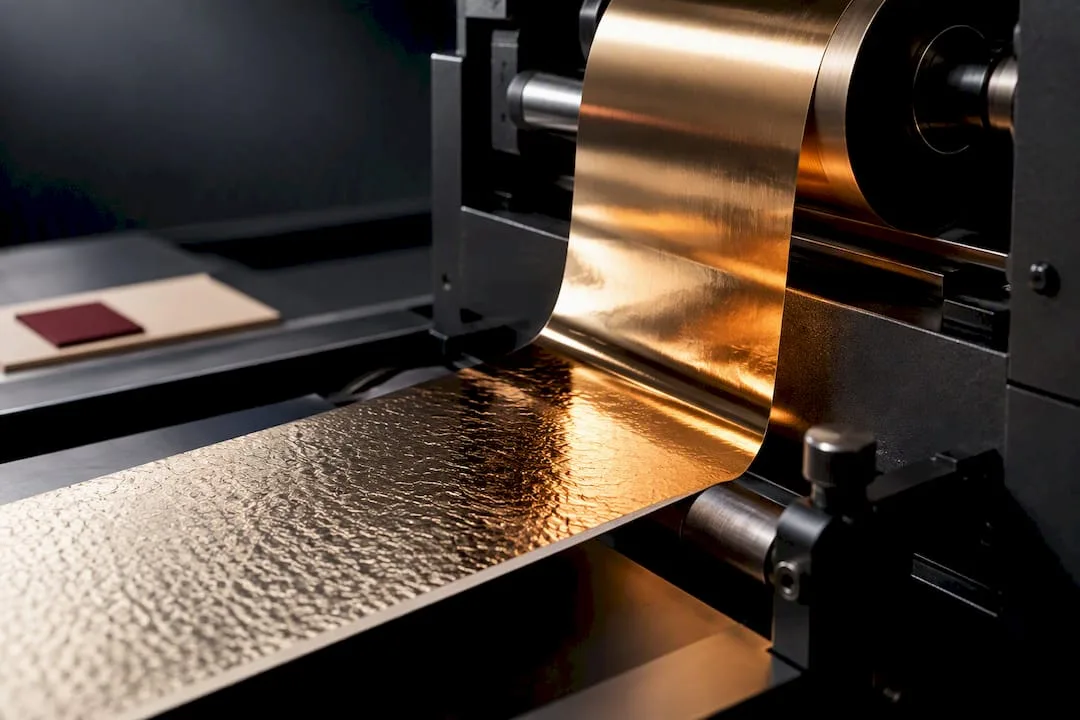
Choose hot foil when the brief calls for a deep, finger-readable emboss on a short prestige run. Choose cold foil when you need CMYK printed directly over metallic, faster inline speeds, and easier mono-material recyclability at volume. The typical break-even sits between roughly 8,000 and 25,000 units depending on foil area, and hot foil’s deboss runs 60 to 120 microns deep versus cold foil’s near-flat finish. Below that volume, prototype both before committing.
TL;DR: Cold foil generally offers lower per-unit costs at volumes above 8,000 units due to faster inline speeds and no tooling expenses. Hot foil provides a tactile deboss depth of 60 to 120 microns, ideal for premium branding on textured stocks, but requires longer setup times and dies. Cold foil allows full CMYK overprinting and fine detail down to 50 microns, making it suitable for full-color graphics over metallic backgrounds. Hot foil excels on uncoated, textured stocks if tactile embossing and deep debossing are critical to the design. For sustainability, cold foil’s ultrathin metal layer supports mono-material recycling and reduces CO2e emissions compared to hot foil.
Table of Contents
- Hot Foil vs Cold Foil: Tooling, Speed, and Sustainability Side by Side
- How Does Hot Foil Stamping Work?
- How Does Cold Foil Printing Work?
- How Do You Choose the Right Foiling Method for Your SKU?
- What Actually Drives the Cost Difference Between Hot and Cold Foil?
- What Substrate and Pre-Press Checks Matter Most?
- Which Method Fits 2026 Sustainability and Recyclability Goals?
- Where Does Each Method Actually Get Used?
- How Yuanpackaging Helps You Specify the Right Finish
- What I’d Tell a Designer Before They Sign Off on Tooling
- Get Foil Samples and Specification Support From Yuanpackaging
- Sources
- FAQ
Hot Foil vs Cold Foil: Tooling, Speed, and Sustainability Side by Side
The two methods differ on nearly every production variable that matters to a spec sheet, not just the visual outcome. Hot foil relies on a custom-engraved die and offline stamping; cold foil prints a UV adhesive inline and skips tooling almost entirely.
Here’s where the numbers diverge:
- Tooling: hot foil needs an engraved die (3 to 7 day lead time); cold foil uses a standard plate, cut in hours, per Hot Foil vs Cold Foil Stamping: 2026 Comparison Guide.
- Speed: cold foil runs up to roughly 300 m/min inline; hot foil tops out around 30 to 80 m/min offline, according to industry comparisons of the two processes.
- Tactile depth: hot foil produces a 60 to 120 micron deboss; cold foil sits at 0 to 5 microns, essentially flush with the substrate.
- Detail and overprint: cold foil holds fine detail down to about 50 microns and accepts full CMYK overprinting; hot foil detail is constrained by die engraving limits and offers no overprint.
- Energy use: cold foil consumes about 45% less energy per impression than hot foil stamping.
Setup time follows the same pattern: cold foil changes over like any print job in 15 to 30 minutes, while hot foil needs 45 to 90 minutes for die mounting and registration.
How Does Hot Foil Stamping Work?
Hot foil stamping presses a heated, custom-engraved die, typically running at 90 to 150°C, into a foil web and the substrate at once. The heat and pressure release the foil’s pigment layer and bond it to the paper or board, physically compressing the fibers to form a deboss of about 60 to 120 microns. That depth is what gives hot foil its signature “you can feel it with your eyes closed” quality on a crest, monogram, or brand mark.

The workflow runs offline from the main print job. A converter engraves a magnesium or copper die from your artwork, mounts it in the stamping press, and dials in temperature, dwell time, and pressure through test strikes before production starts. Registration checks matter more here than in almost any other finishing step, since a die that drifts even half a millimeter off a printed panel reads as a defect.
Hot foil favors textured, uncoated stocks where the deboss reads clearly, but it struggles on heat-sensitive laminates that can warp or delaminate under the die’s temperature.
- Keep line weights above roughly 0.3pt to avoid foil bridging or dropout on fine text.
- Build in a choke of 0.1 to 0.2mm on foil elements butting up against ink to prevent white gaps from registration drift.
- Leave a safety margin of at least 3mm from trim on any deep deboss to protect die life and edge crispness.
Pro Tip: Ask your converter for a strike test on your actual board stock before finalizing the die. Uncoated papers can absorb heat differently batch to batch, and what looks perfect on a sample sheet can go shallow on a production run.
How Does Cold Foil Printing Work?
Cold foil skips the heated die entirely. A press station prints a UV curable adhesive onto the substrate in the exact pattern where foil should appear, then a foil web nips against that wet adhesive under light pressure. UV lamps cure the adhesive instantly, bonding the foil’s metal layer to the paper, and the spent carrier film winds away on a takeup roll, all inline with the rest of the print job, according to comparisons of cold and hot foil processes.
Because the adhesive is printed rather than embossed, cold foil holds fine detail down to roughly 50 microns and, critically, lets you run CMYK ink directly over the metallized area afterward. That single capability is why cold foil dominates cosmetic cartons and wine labels that need a gradient or full-color graphic sitting on top of a silver or gold field, something hot foil cannot do at all.
Press speeds up to 300 m/min make cold foil the clear choice for long runs, and energy use drops roughly 45% per impression compared with hot foil stamping.
A few production details determine whether cold foil looks premium or patchy:
- White underprint is often necessary beneath the foil adhesive to boost metallic brightness on darker or absorbent stocks.
- Uncoated boards usually need a primer coat so the adhesive sits on top instead of soaking in unevenly.
- Anilox roller volume controls how much adhesive lays down, which directly sets metallic density and edge sharpness.
Pro Tip: Plan your overprint sequence early. Varnishes and coatings applied over cold foil can dull metallic brightness if the OPV formulation isn’t compatible, so request a proof with your actual varnish stack, not just a bare foil sample.
How Do You Choose the Right Foiling Method for Your SKU?
Run length is the first filter, but it isn’t the only one. Work through this checklist before you write the RFQ:
- Estimate your annual run volume. Below roughly 8,000 units, hot foil or even digital foil often costs less overall since there’s no die to amortize; above 25,000 units, cold foil typically pulls ahead on unit economics.
- Define the tactile requirement. If the brand mark needs to be felt, not just seen, hot foil’s deboss is the only method that delivers it.
- Confirm coverage percentage and color needs. Full-color graphics over metallic, or foil coverage exceeding a small logo area, points toward cold foil.
- Set your recyclability target. If the pack must pass mono-material repulpability testing, ask your converter for lab data rather than a marketing claim.
- Ask converters direct questions: What’s the engraved die cost and lead time? What press speed applies to my substrate? Do you offer white underprint? Can you supply repulpability test results?
- Watch for red flags: vague answers on maximum emboss depth when combining foil with embossing, inconsistent board scoring from job to job, or no white underprint capability at all.
For very small prototype runs under a few hundred units, digital foil printing can sidestep both die costs and plate setup, though at a higher per-unit price than either conventional method.
What Actually Drives the Cost Difference Between Hot and Cold Foil?

Die amortization is the single biggest lever in hot foil pricing. A custom engraved die costs from the low hundreds to several hundred dollars and takes 3 to 7 days to produce, and that cost gets spread across however many units you run. Cold foil replaces the die with a standard plate, so setup cost stays flat whether you’re printing 5,000 units or 50,000.
Press time compounds the gap. Cold foil’s inline speed advantage, up to 300 m/min against hot foil’s 30 to 80 m/min, means far less machine time per thousand units, and setup itself runs in 15 to 30 minutes versus 45 to 90 minutes for die mounting and registration.
At scale, cold foil often runs 35 to 60% cheaper per impression than hot foil stamping, according to cost guidance for luxury cosmetic carton programs, largely because tooling and setup time both disappear from the equation.
Hidden costs to budget for regardless of method: scrap from registration drift, secondary handling for offline hot foil jobs, warm-up waste while the press dials in temperature, and die wear on large foil coverage areas that shortens tooling life faster than expected.
What Substrate and Pre-Press Checks Matter Most?
Substrate choice decides more about the finished result than the foiling method itself. Uncoated boards often need a primer or seal coat before cold foil adhesive goes down, otherwise the adhesive absorbs unevenly and metallic density looks blotchy in spots. Hot foil, by contrast, tends to be the safer bet on heavily textured or uncoated stock since the die’s pressure and heat work with the fiber rather than depending on a printed liquid sitting on top of it.
Combining foil with embossing adds another variable. Deep embossing under cold foil risks cracking the thin metal layer at the fold, so converters typically cap emboss depth before recommending a switch to hot foil for that specific detail.
- Soft-touch laminate and matte OPV coatings can both dull metallic brightness, so request a proof with the actual coating stack before approving color.
- Test adhesion and metallic density on your real production substrate, not a generic sample sheet.
- Review board grades and coating options through a packaging finishes resource before locking your spec.
- Cross-check board weight and coating against available material options to avoid mismatched primer requirements.
Which Method Fits 2026 Sustainability and Recyclability Goals?
Cold foil generally has the easier path to mono-material compliance. The metal layer it deposits measures only about 10 to 50 nanometers thick, adding well under 1% of total pack weight, which lets fiber-based cartons pass repulpability testing that a laminated foil layer would fail.
Practical specification rules for a 2026 brief: use fiber-based substrates with no PE or PET liner, specify UV cold-foil adhesives rather than solvent-based alternatives, and cap foil coverage to a modest percentage of the panel rather than full bleed, as detailed in this Sustainable Packaging for Aquatic Nutrition Products: 2026 Guide.
- Ask your converter for third-party repulpability test results, not just a claim of “recyclable.”
- Review EU PPWR requirements early, since coverage caps and mono-material rules are tightening across European markets.
- Confirm ink and adhesive compatibility against EuPIA’s recycling guidance, which flags binders that interfere with deinking.
- Cold foil’s lower energy draw also reduces per-run CO2e, a detail worth including in any sustainability disclosure to retail buyers.
Where Does Each Method Actually Get Used?
A luxury cosmetic carton running multiple SKUs typically pairs cold foil with a soft-touch laminate and a blind emboss accent, sometimes adding a small hot-foil hit for a single high-impact logo. Wine and spirits labels running at volume favor cold foil inline, since label presses need the speed and the full-color label design often sits directly over a metallic background. A short-run artisanal gift box, on the other hand, is where hot foil earns its keep: a deep-debossed crest on 500 units reads as craftsmanship in a way a flat metallic print never will.
Spec snippets worth pasting into an RFQ:
- Substrate: 300gsm FSC board, uncoated matte finish, foil coverage 15%, expected run 12,000 units, sample required before production, repulpability test requested.
- Substrate: coated label stock, cold foil inline with CMYK overprint, run 50,000+ units, white underprint required.
Hybrid strategies, cold foil for the base metallic field with a hot-foil accent for a single tactile mark, work well when budget allows for both tooling paths.
How Yuanpackaging Helps You Specify the Right Finish
An experienced finishing team has produced finished packaging for beauty, spirits, and lifestyle brands globally, delivering millions of units to thousands of brands worldwide. That range means the finishing team has run both hot foil debossing on rigid gift boxes and inline cold foil on high-volume label programs, often within the same client’s portfolio.
Sampling and pre-press testing sit at the center of that process: strike tests on your actual substrate, adhesion checks on cold foil adhesive, and repulpability validation before a job scales past a few thousand units. For deeper technical grounding, the foil stamping guide walks through tactile finishing decisions in more detail.
What I’d Tell a Designer Before They Sign Off on Tooling
The mistake I see most often is skipping the pre-press test to save a week. Run a strike test on your real substrate, request repulpability data in writing, and don’t assume hot and cold foil are mutually exclusive. A hybrid spec, cold foil field with a hot foil accent, often solves the tactile-versus-scale tension better than picking one method and living with its limits.
— Anthony
Get Foil Samples and Specification Support From Yuanpackaging
A direct manufacturing team supports brands choosing between hot and cold foil finishes, coordinating recommendations, die engraving, press runs, and repulpability validations before orders scale.
Working with Yuanpackaging on your next foil decision typically looks like this:
- Request physical samples of both hot foil and cold foil on your actual substrate before committing to a die or plate.
- Get specification support on foil coverage percentage, tactile depth, and CMYK overprint compatibility.
- Ask for repulpability and sustainability validation aligned to mono-material recycling targets.
- Move from approved sample to production quote without switching vendors mid-project.
If your next SKU is a label program built for speed and full-color metallic graphics, start with custom label manufacturing. If it’s a short-run gift box that needs a deboss people can feel, the rigid gift box team can walk you through die options and lead times. Either way, request a sample and a quote before your next print run locks in.
Sources
- Hot Foil vs Cold Foil Stamping: 2026 Comparison Guide
- Understanding the Differences Between Cold Foil and Hot Foil Printing (2026 Guide)
- Cold foil packaging for luxury brands (specification & cost guidance)
- EuPIA: Recycling and printing inks (overview and guidance)
FAQ
What Are the Disadvantages of Hot Foil Stamping?
Hot foil requires a custom engraved die with a 3 to 7 day lead time, which raises cost and slows turnaround on tight schedules. It also runs slower than cold foil, topping out around 30 to 80 m/min, and can’t accept CMYK overprint or run reliably on heat-sensitive laminated stocks.
How Can You Tell if a Finish Is Cold Foil Instead of Hot Foil?
Run a finger across the metallic area: cold foil sits nearly flush with the surface, while hot foil creates a noticeable debossed depth of 60 to 120 microns. If the metallic area has full-color printing layered directly on top of it, that’s almost certainly cold foil, since hot foil doesn’t support overprinting.
How Do You Apply Hot Foil Stamping in Production?
A heated engraved die, typically running 90 to 150°C, presses foil film against the substrate under controlled pressure, bonding the pigment layer while compressing the fibers into a deboss. Converters run test strikes to calibrate temperature and dwell time before full production, since results shift depending on board thickness and moisture content.
Can a Laminator Be Used for Hot Foil Stamping?
A standard laminator lacks the engraving, precise temperature control, and pressure calibration a hot foil die press provides, so it cannot replicate a true debossed foil finish. Some low-cost desktop foiling tools use laminator-style heat to apply foil to flat digital prints, but that produces a surface application without the tactile deboss associated with commercial hot foil stamping.
Which Method Costs Less at High Volume?
Cold foil typically costs 35 to 60% less per impression at scale because it eliminates die tooling and runs at inline press speeds. The typical break-even point sits between roughly 8,000 and 25,000 units, depending on foil coverage area and design complexity.